Repairing a Coffee Machine
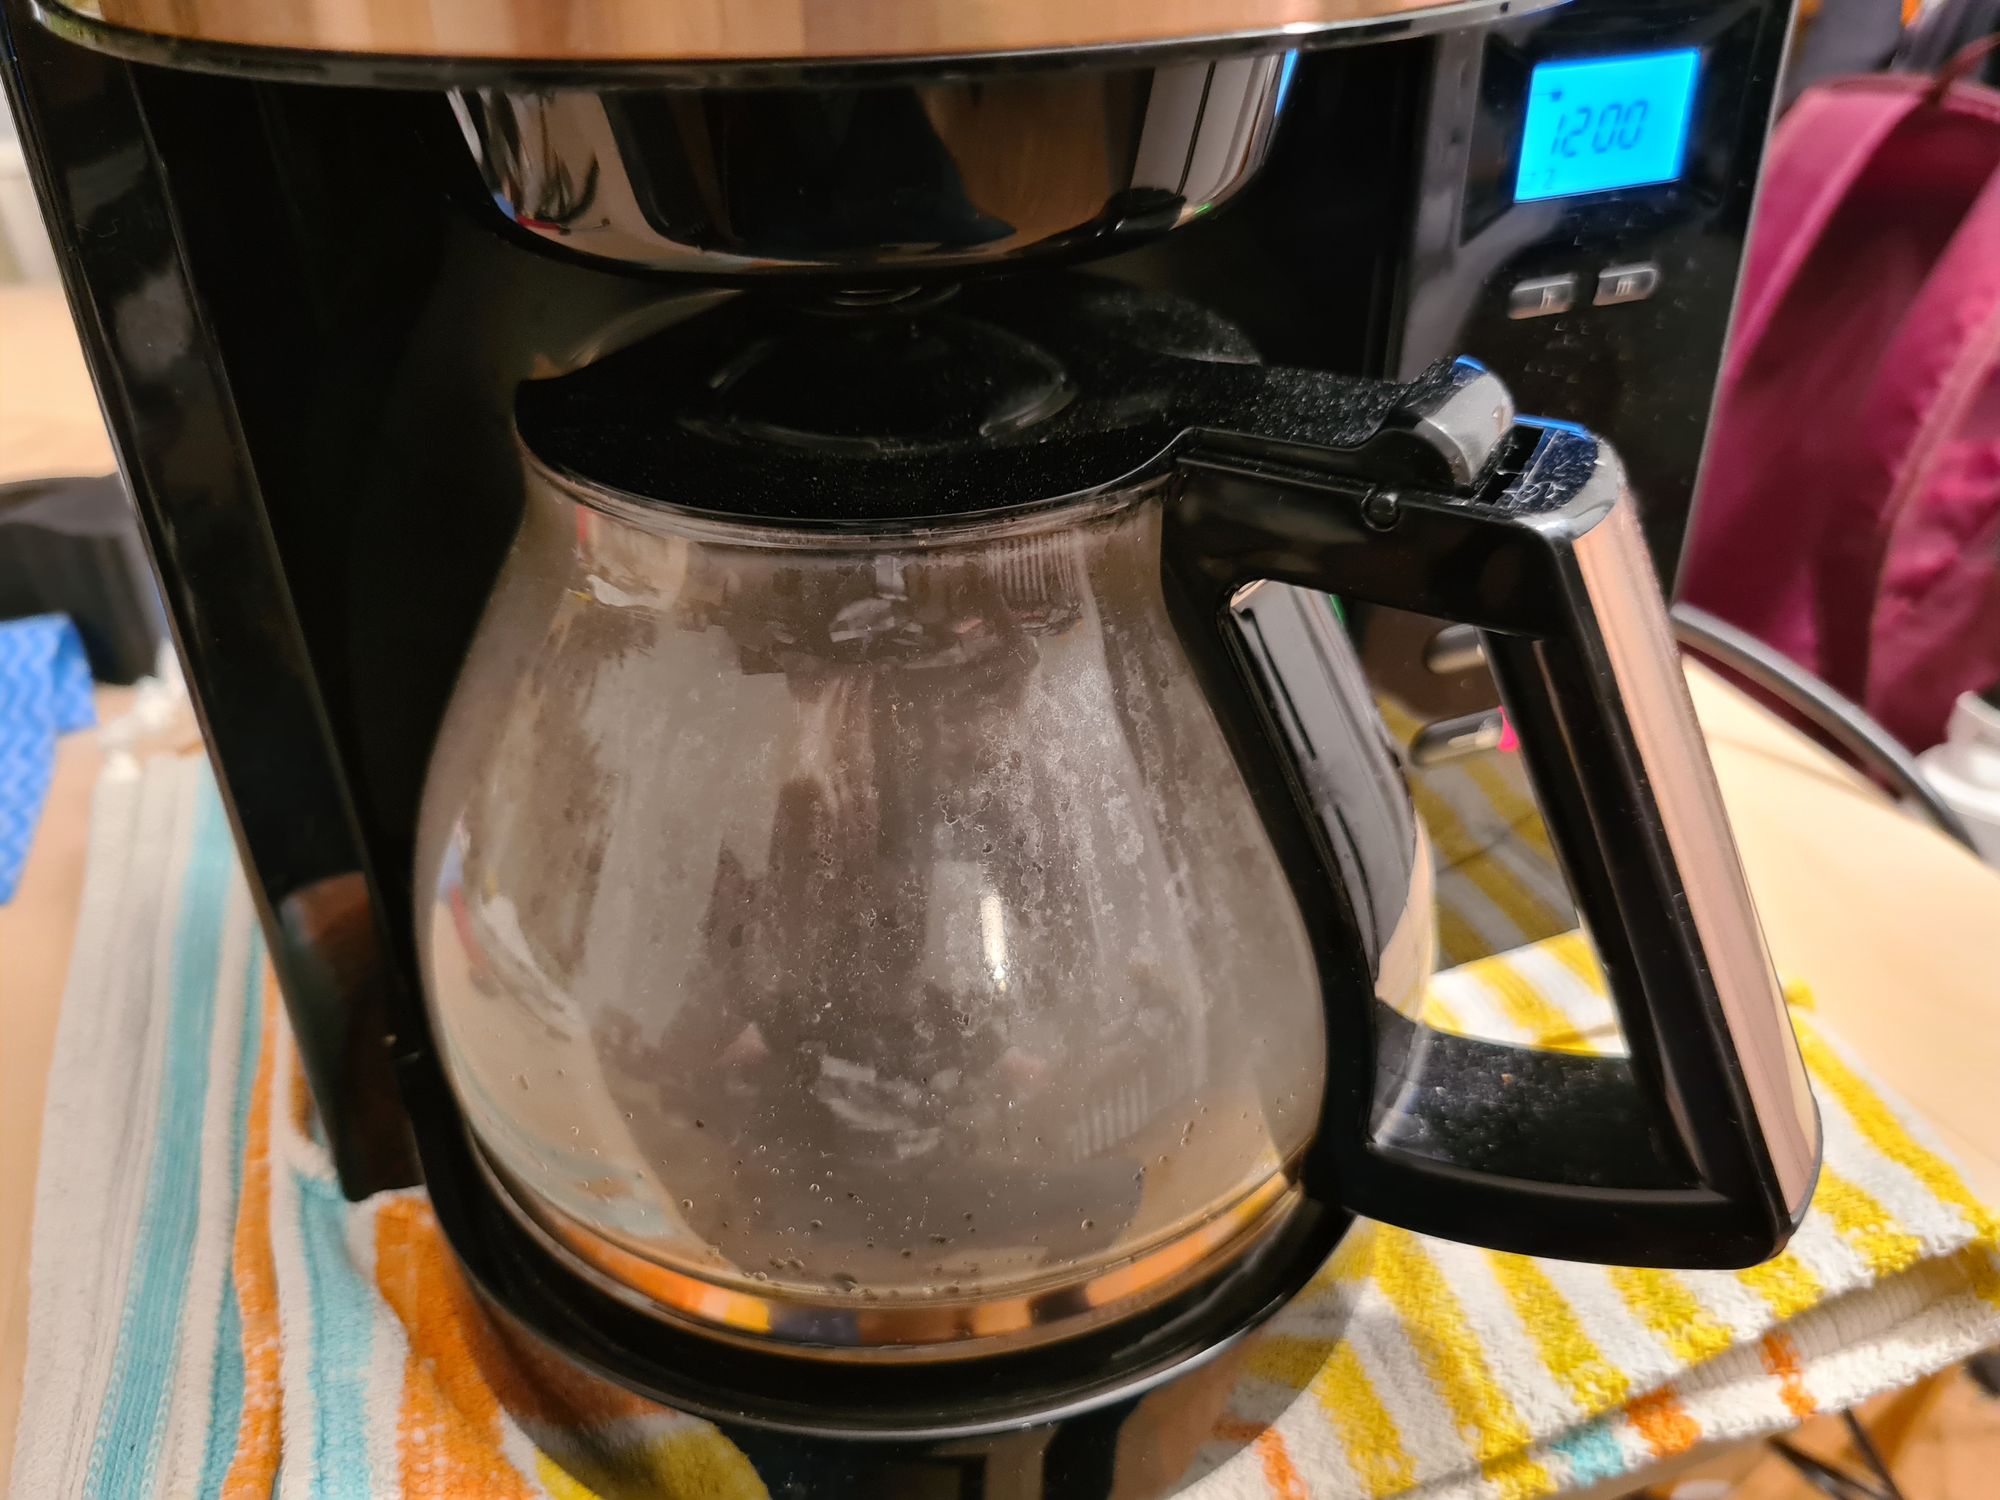
Melitta AromaFresh drip coffee machine broke down after around one month of usage – water stopped dripping into the kettle.

Disassembling the unit posed the standard challenges:
- Not so easy to reach screws – longer screwdriver was needed.
- Latches in the upper part.
- One anti-tamper screw – special bit was required.
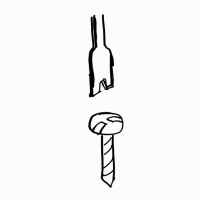
On the plus side - there were only two types of screws.
The goal was to check for the obvious parts that could fail:
- Water pump – water was not dripping.
- Scale build-up – water here is quite hard, maybe the waterway got blocked.
- Heater – machine was not pumping the water if the heater is dead.
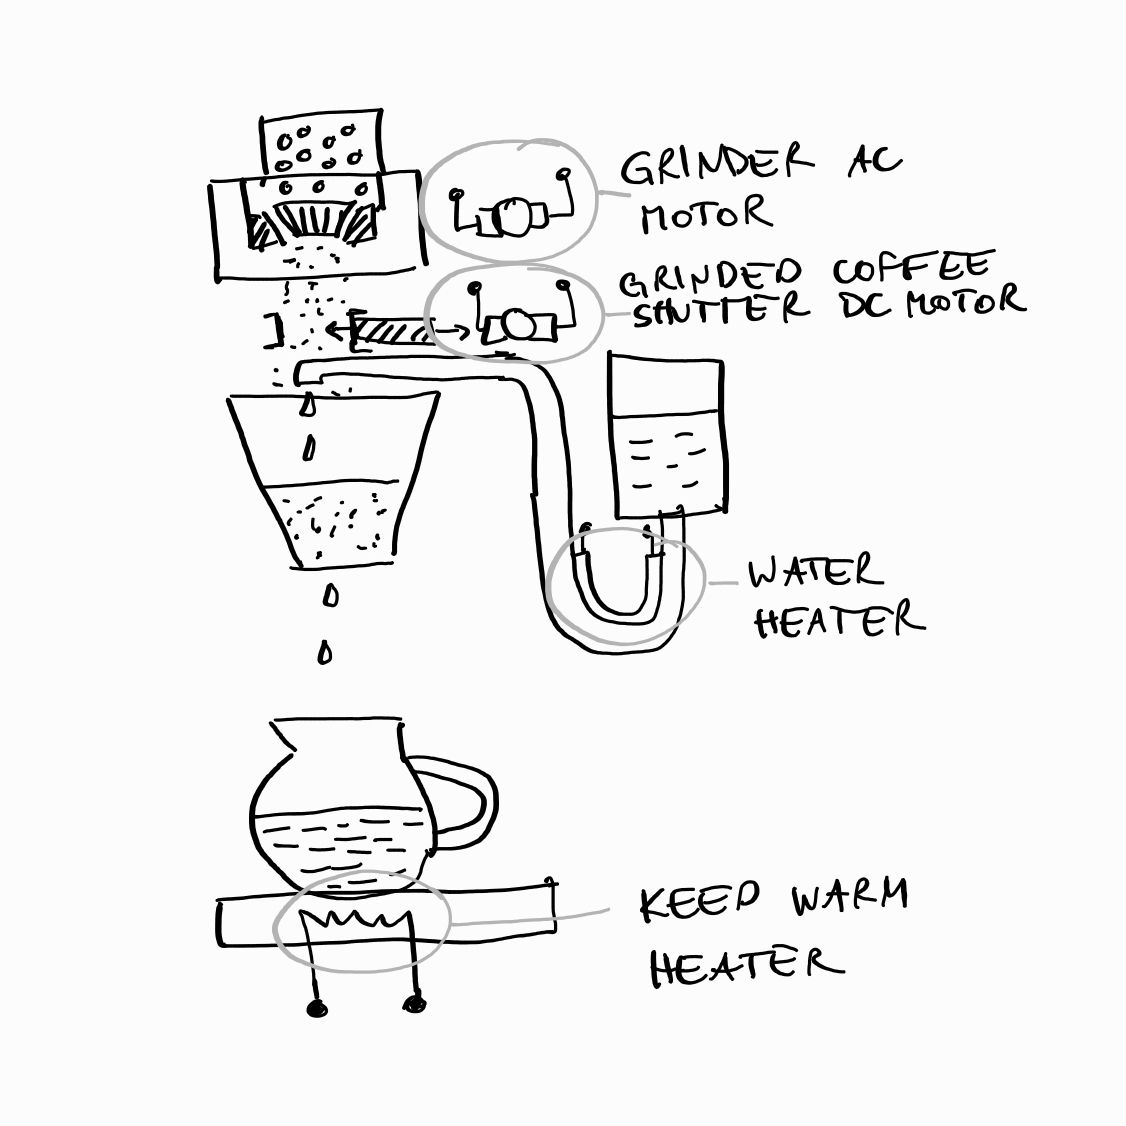
The machine turned out to be much simpler, it doesn't have (and doesn't need) a water pump, water is pumped by heat expansion – point 1 is no longer valid. (This was a very bad, but reasoned, guess.)
After fixing problem no 2 the coffee machine still didn't work.
Focus was on checking why heater didn't heat (point 3).
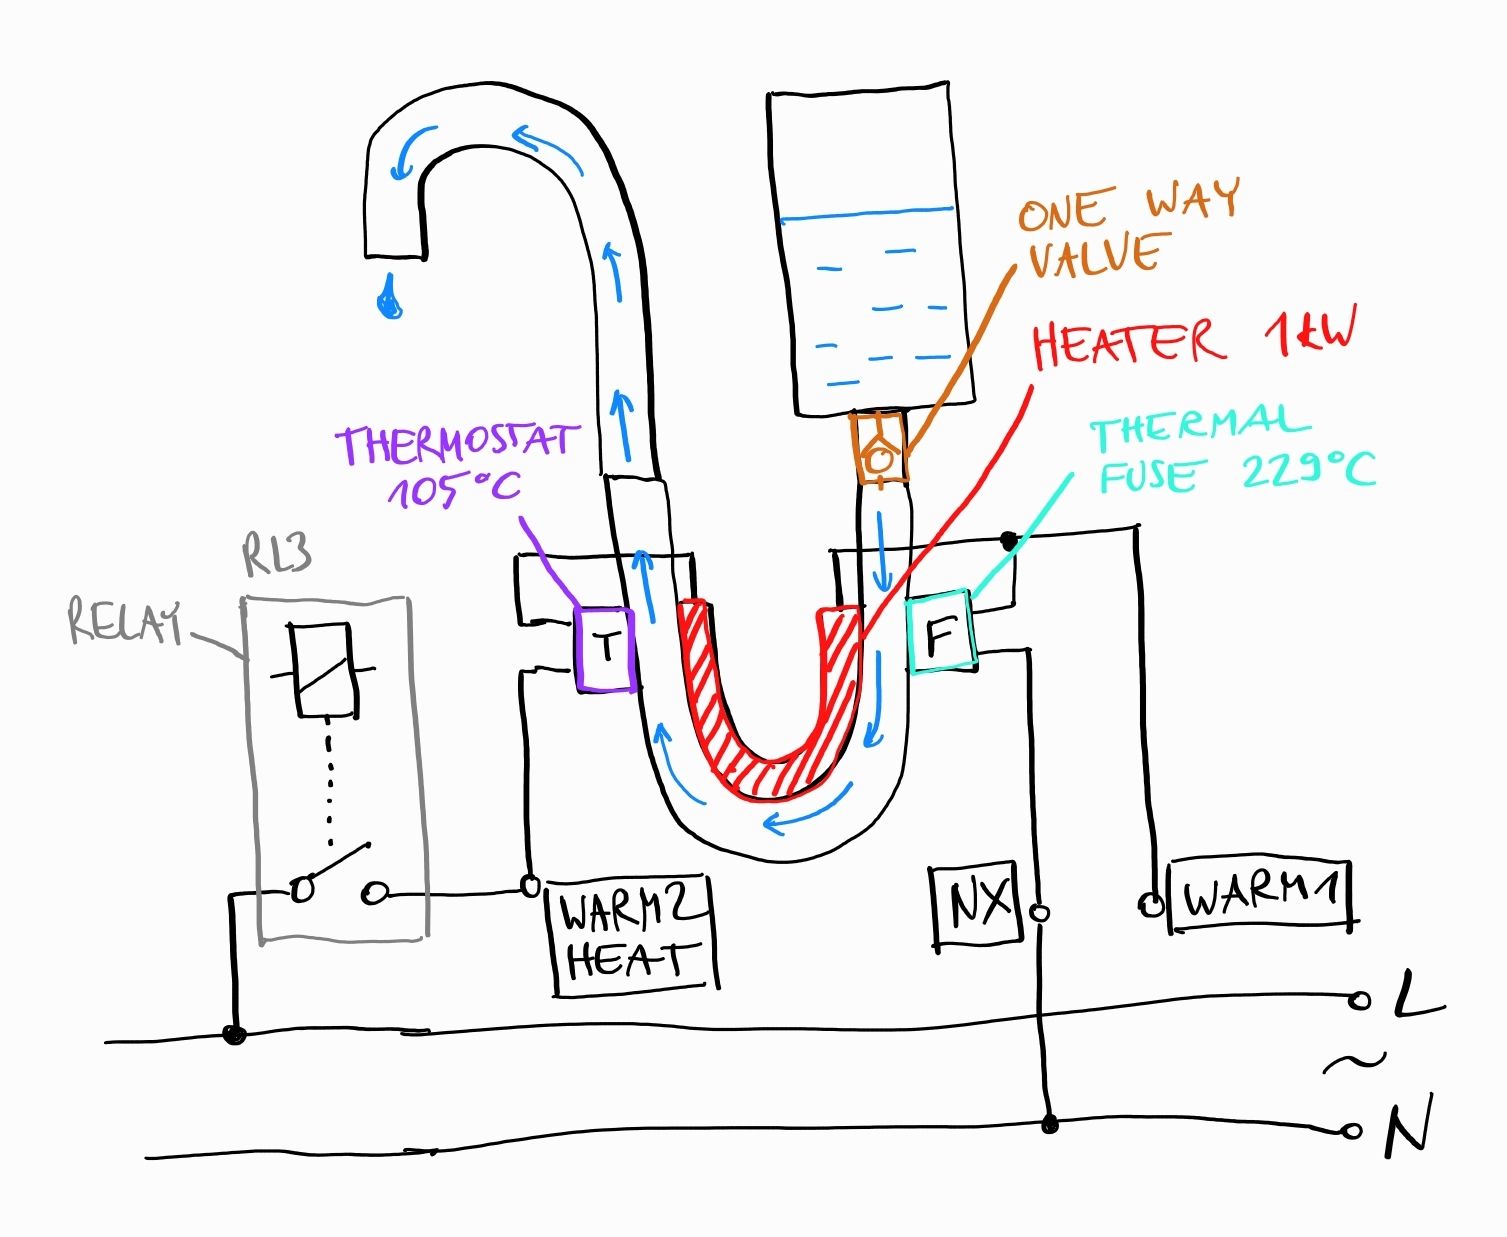
Each of the elements in the heat circutry was checked:
- Relay – it does turn on when the machine is on (voltage present, can feel the coil engaging) – OK.
- Thermostat – resistance/continuity check – OK.
- Heater – continuity check – OK.
- Thermal fuse – continuity check – FAIL.
- One way valve – manual check – OK.
It turned out the thermal fuse was "broken". It took a while to discover that, since it was concealed, for a good reason, in a protective sleeve.
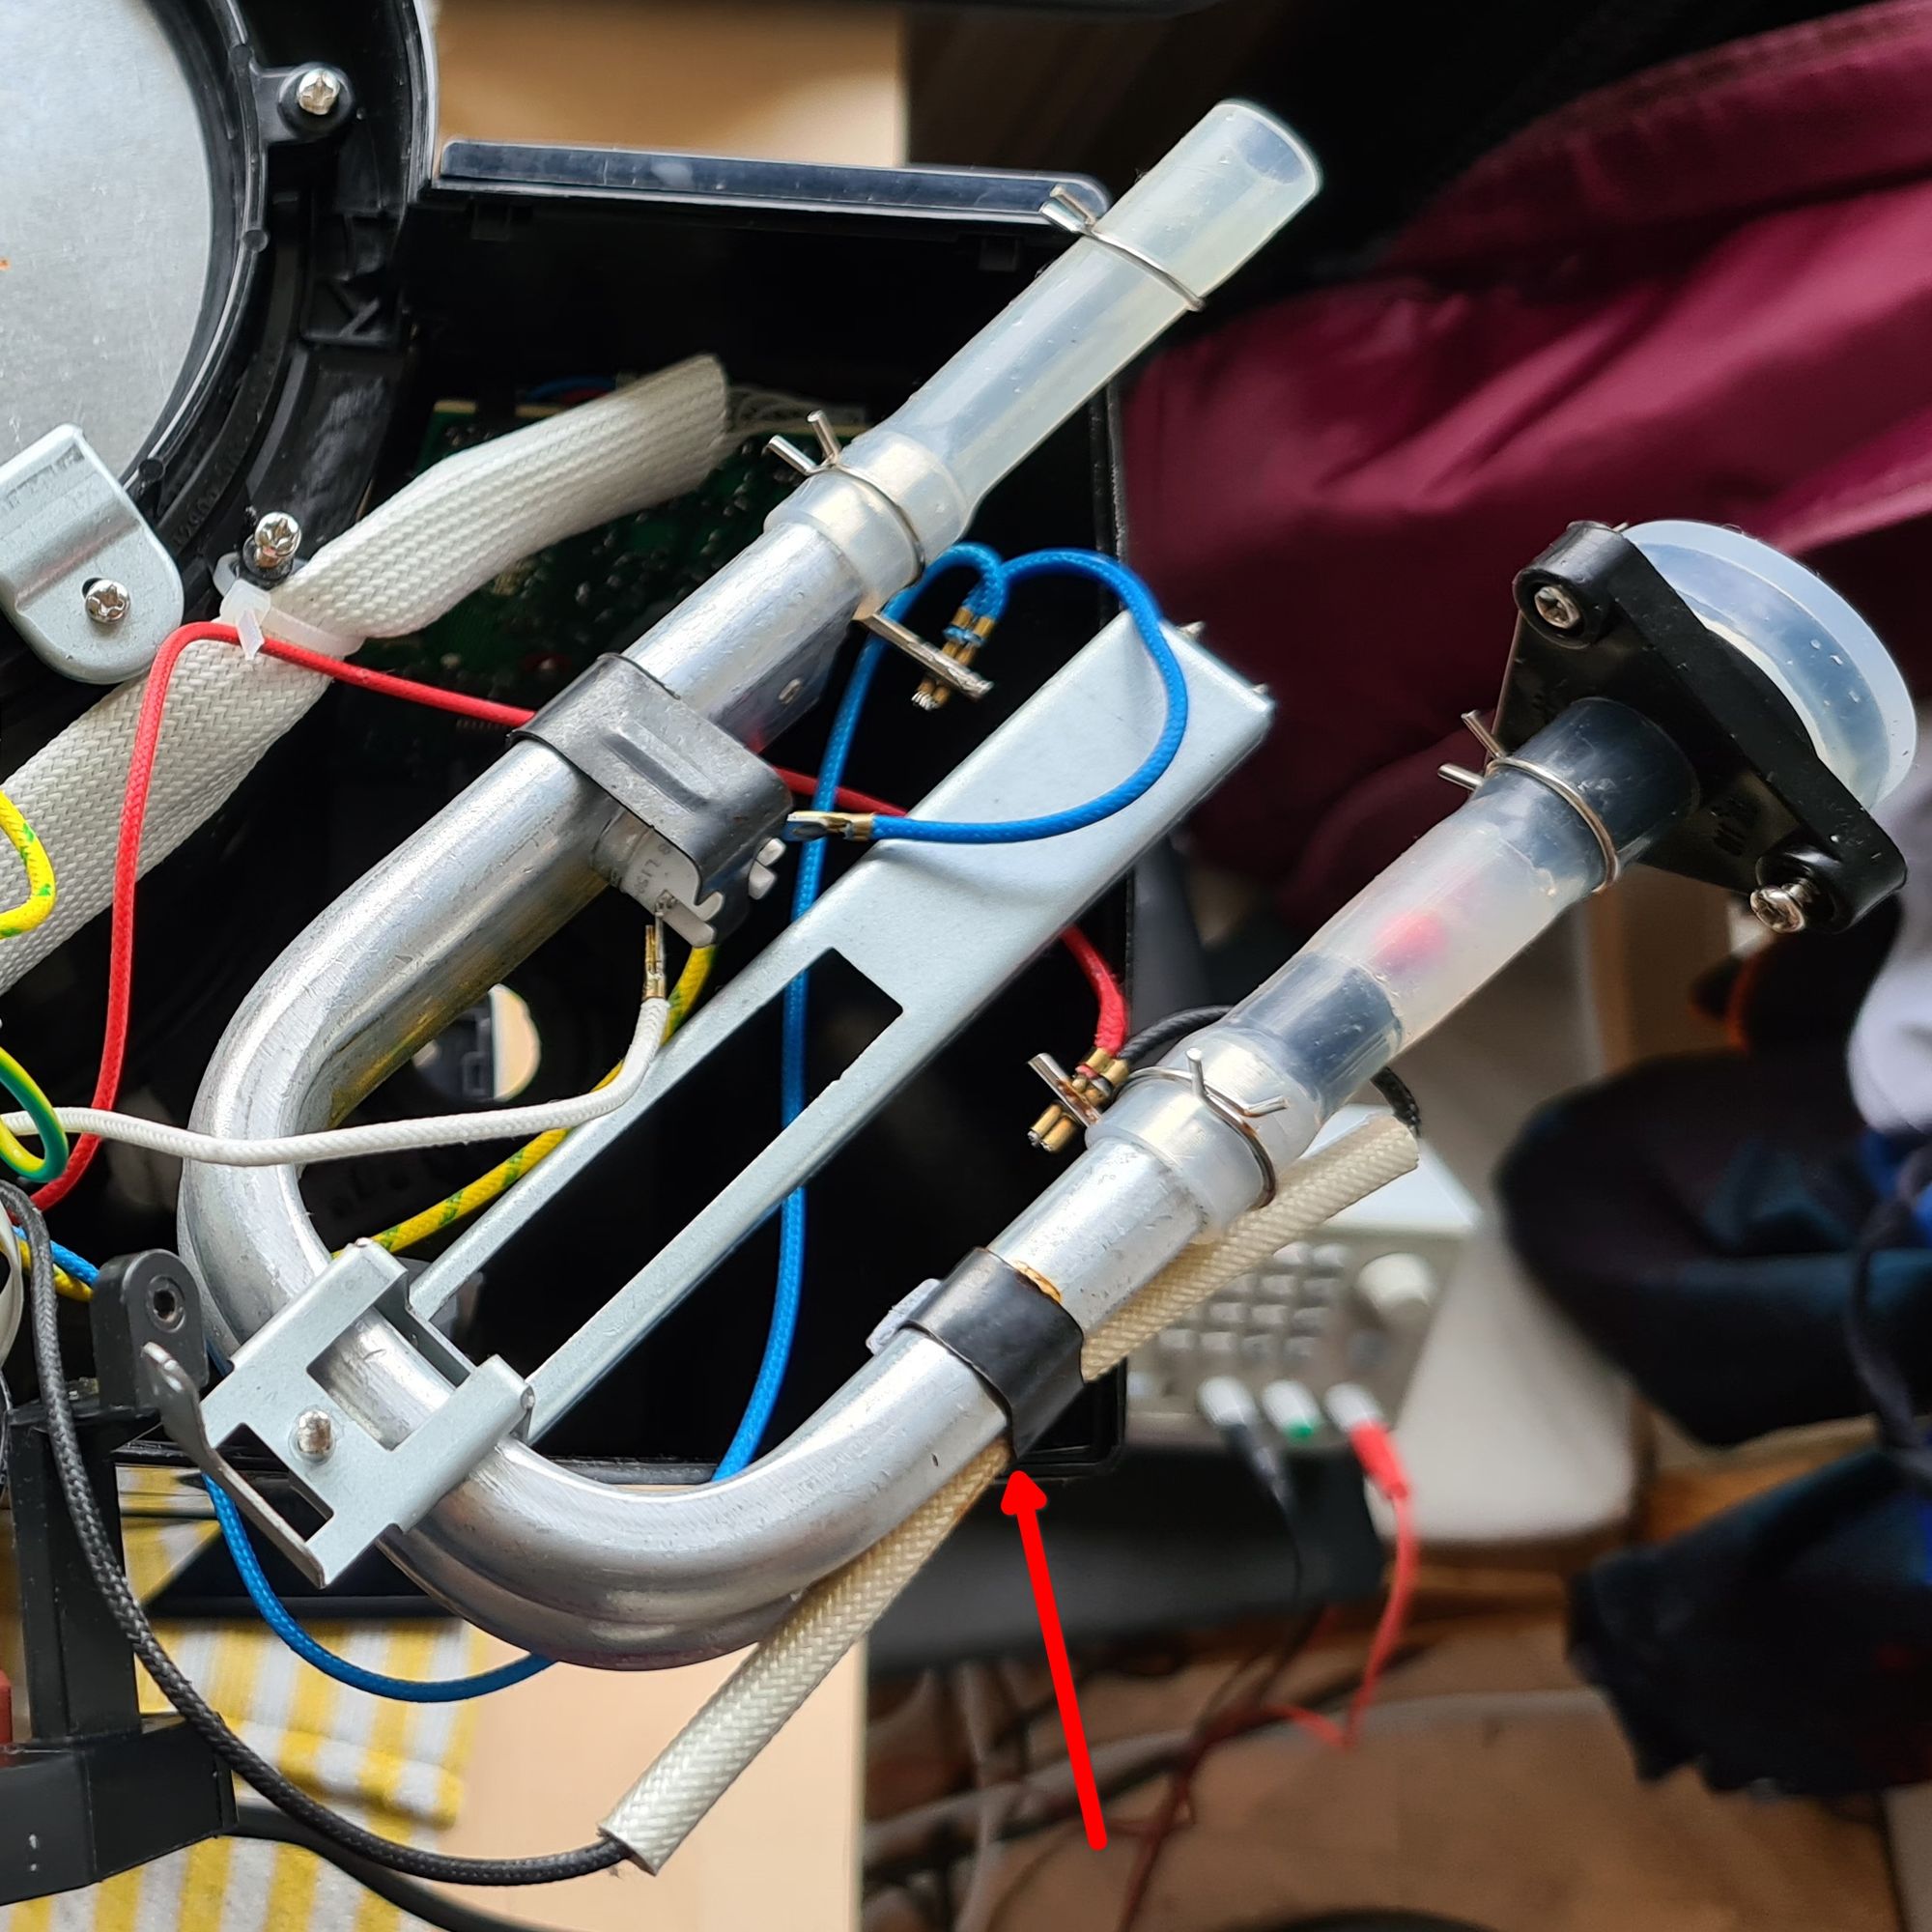
Replacement part was ~7 EUR (including shipping) for 10 pieces.
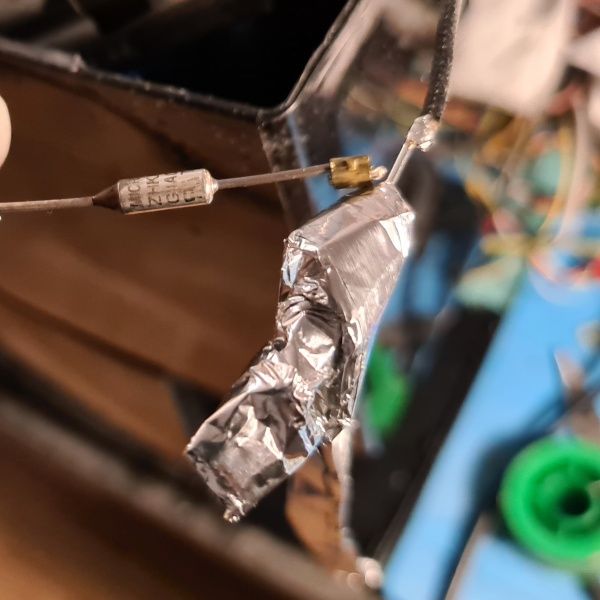
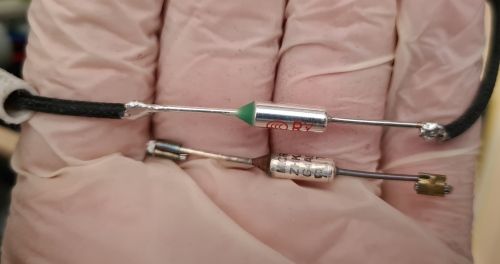
Repair turned out to be successful – coffee machine was working again.
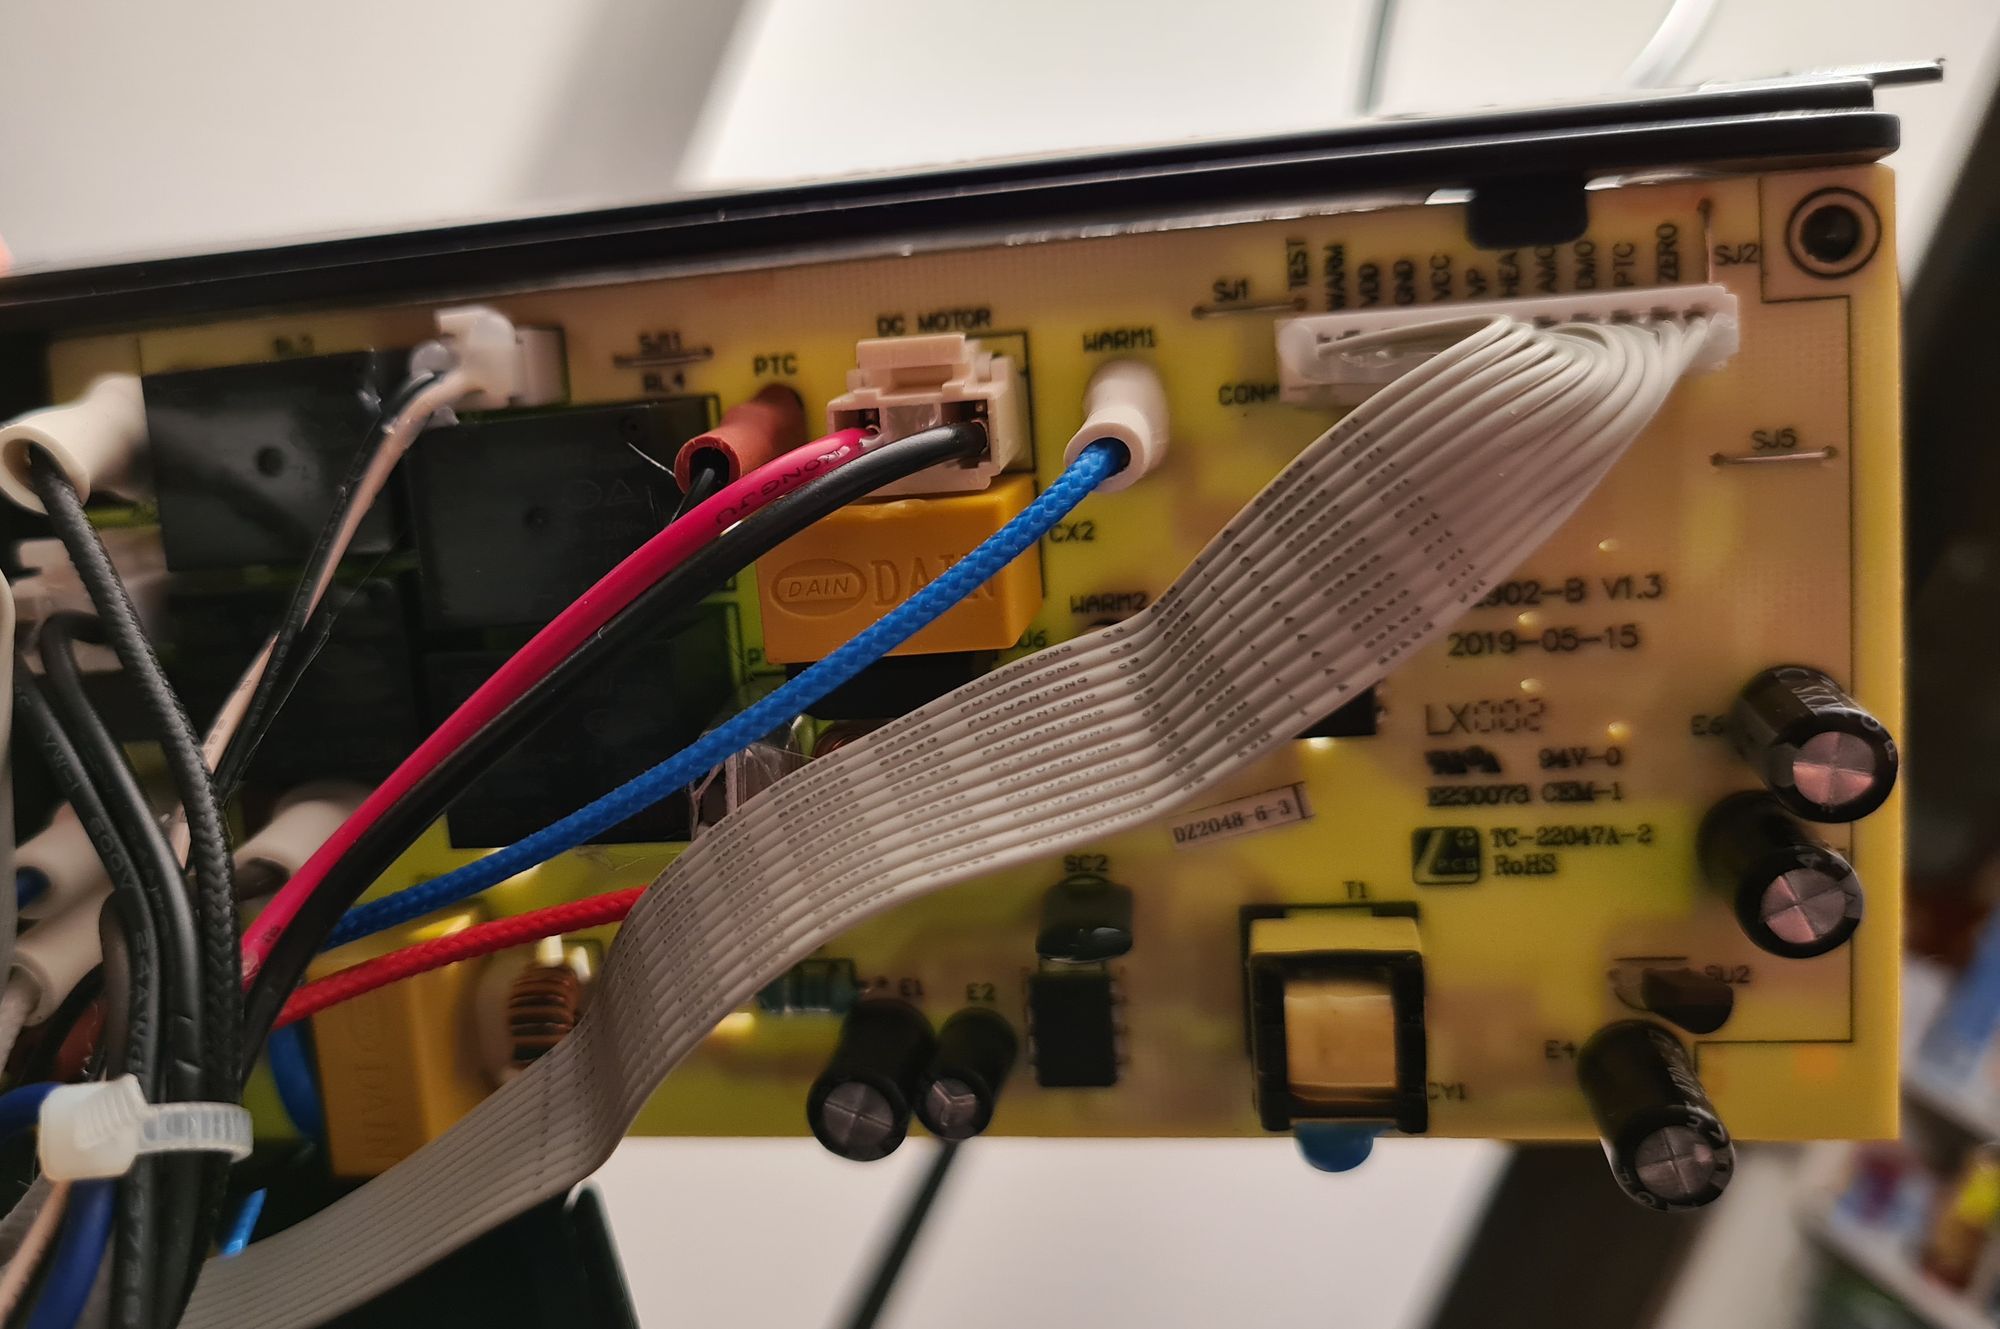
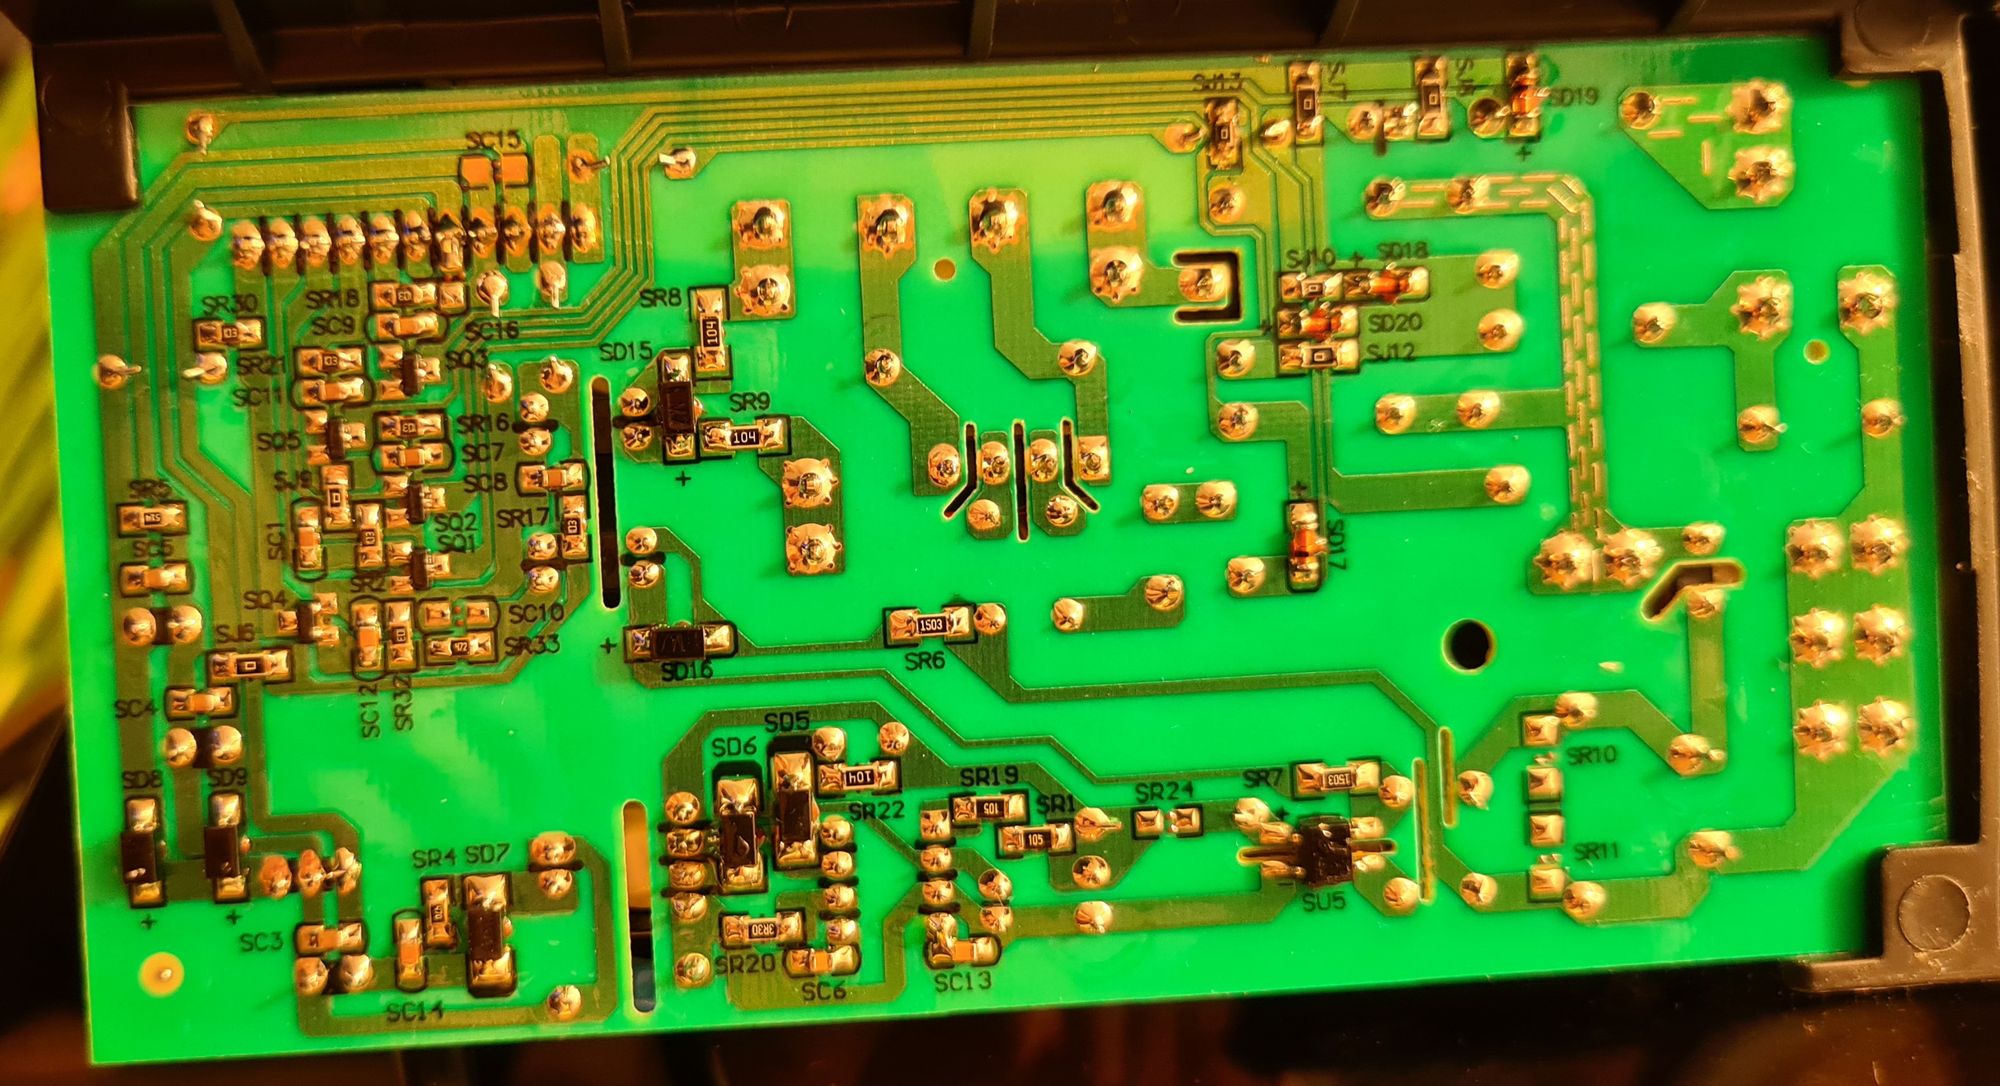
Below other circuits in the machine, as well as the photo of the PCB board.
